Taguette is a free and open-source tool for qualitative research. Taguette allows us to import our research materials, highlight and tag quotes, and export the results from Taguette.
One advantage of Taguette is that it is lightweight and straightforward for coding, which eases the pressure on the newcomers to qualitative research. It does not support analysis within the software itself, however. For anything more sophisticated than tagging, we have to move to another software. That is the approach we adopt in this workshop. We use Taguette for coding, but rely on other tools to process the outputs from Taguette, either for quantitative analysis or further reading into the data.
Downloading and installing Taguette
Taguette works on macOS, Windows, and Linux. Follow the guide to download and install Taguette for your operating system.
We will be running Taguette locally.
Once we have downloaded and installed Taguette on our computer, double-click the Taguette icon to start it up. The command line will pop up and be running, and Taguette should open in the web browser. Do leave the terminal running. If you exit the terminal, Taguette will stop.
Creating a project
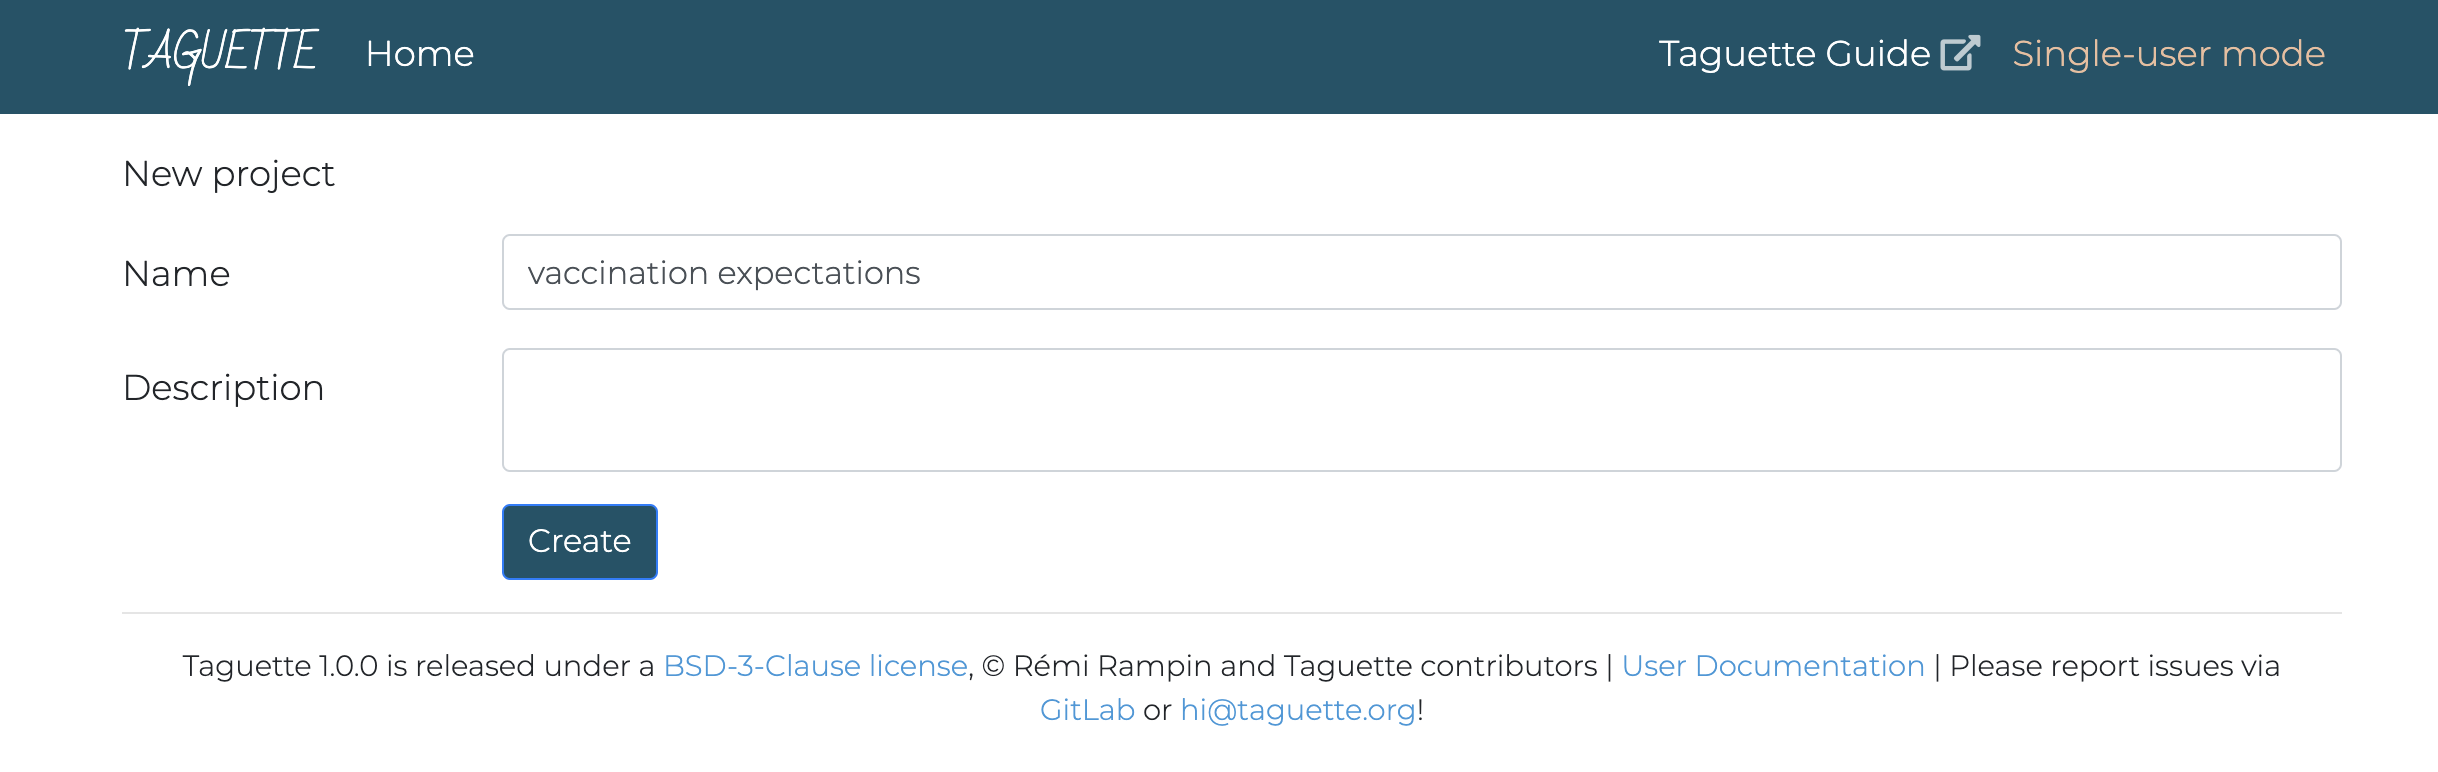
The first thing we do in Taguette is to create a new project. This is the folder that contains all the text files we will be working on.

We named it vaccination expectations, but you can always change it to something else.
If you have exported a project before, you can also import that project directly and continue to work on it.
Importing documents
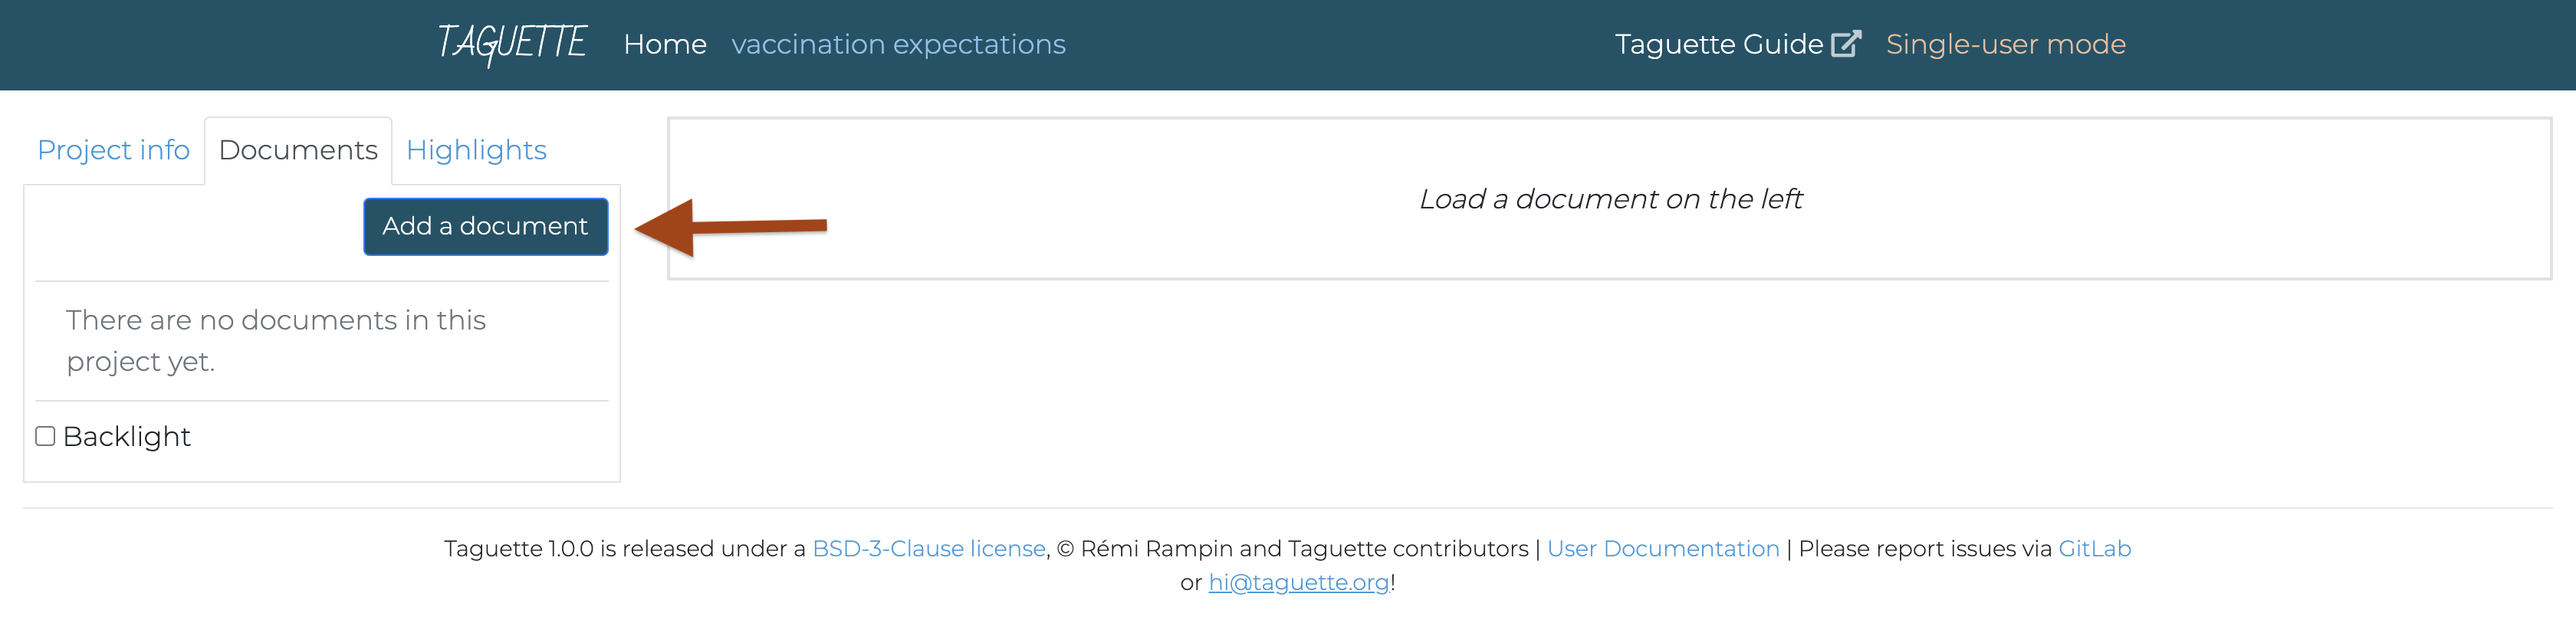
Once we have created a project, we can upload our files to it.
Currently, Taguette does not seem to support either batch upload or uploading via a url. We have do it manually.
Let’s go to this folder where our files are stored, download them, and upload them to Taguette one by one (I know …). This may take a while.
When this is done, all your files should fall under the project. Do not create a new project for each document.
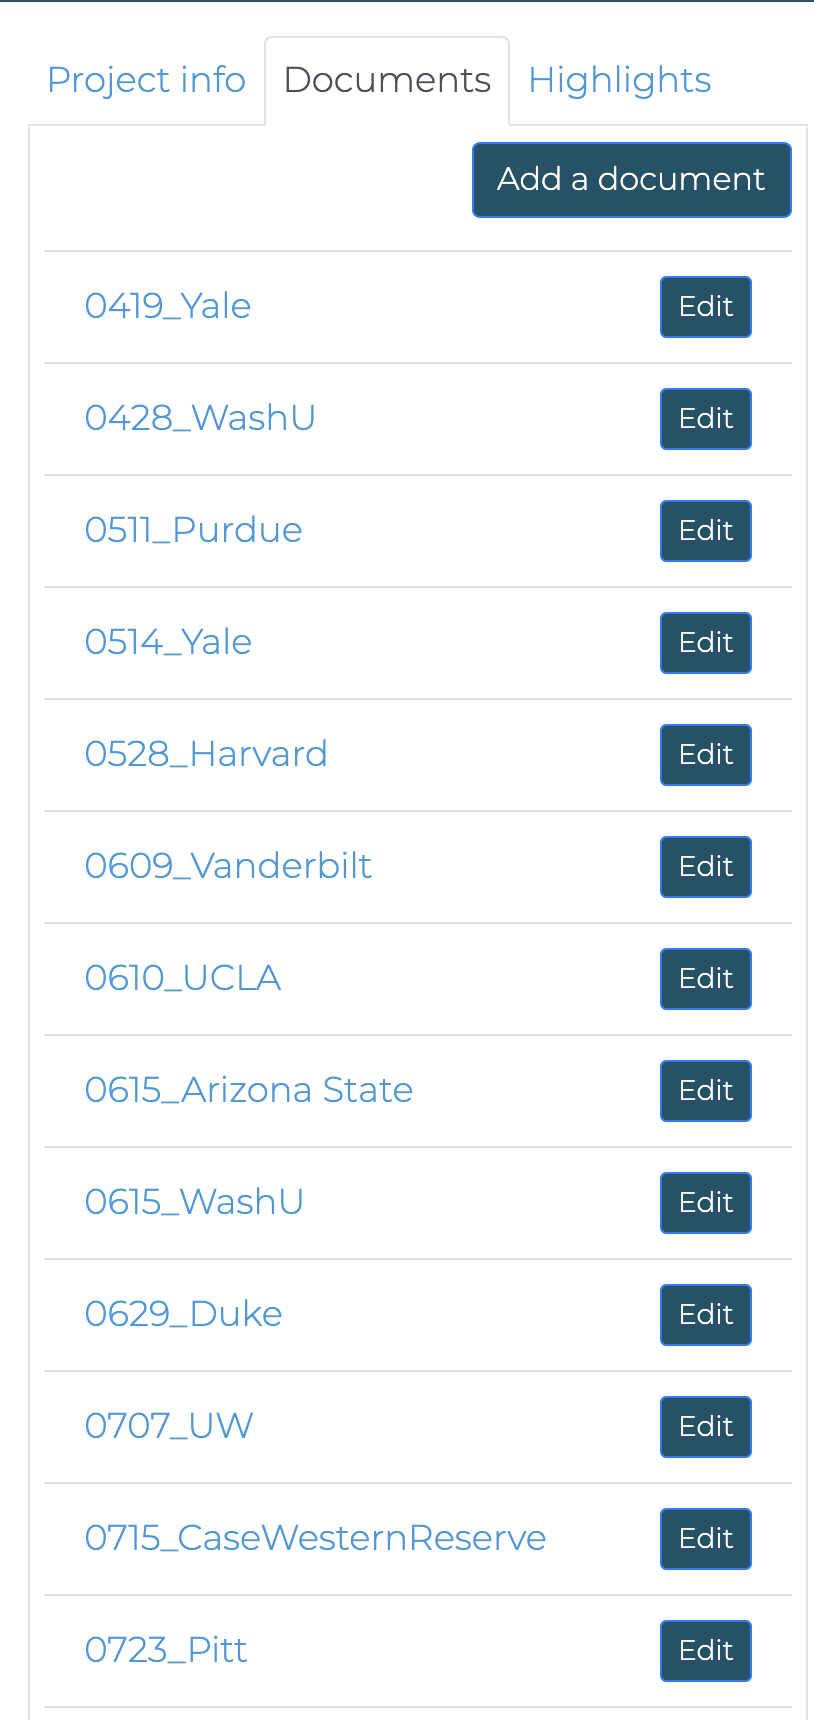
When uploading the files, if the original file name is too long, Taguette won’t accept that and you have to rename the file. It is recommended that you follow one naming convention to name the files. For example, we named the files in the format “date_subject_university”.
Start tagging!
Now we can start tagging our documents! After all, that’s why we are in Taguette.
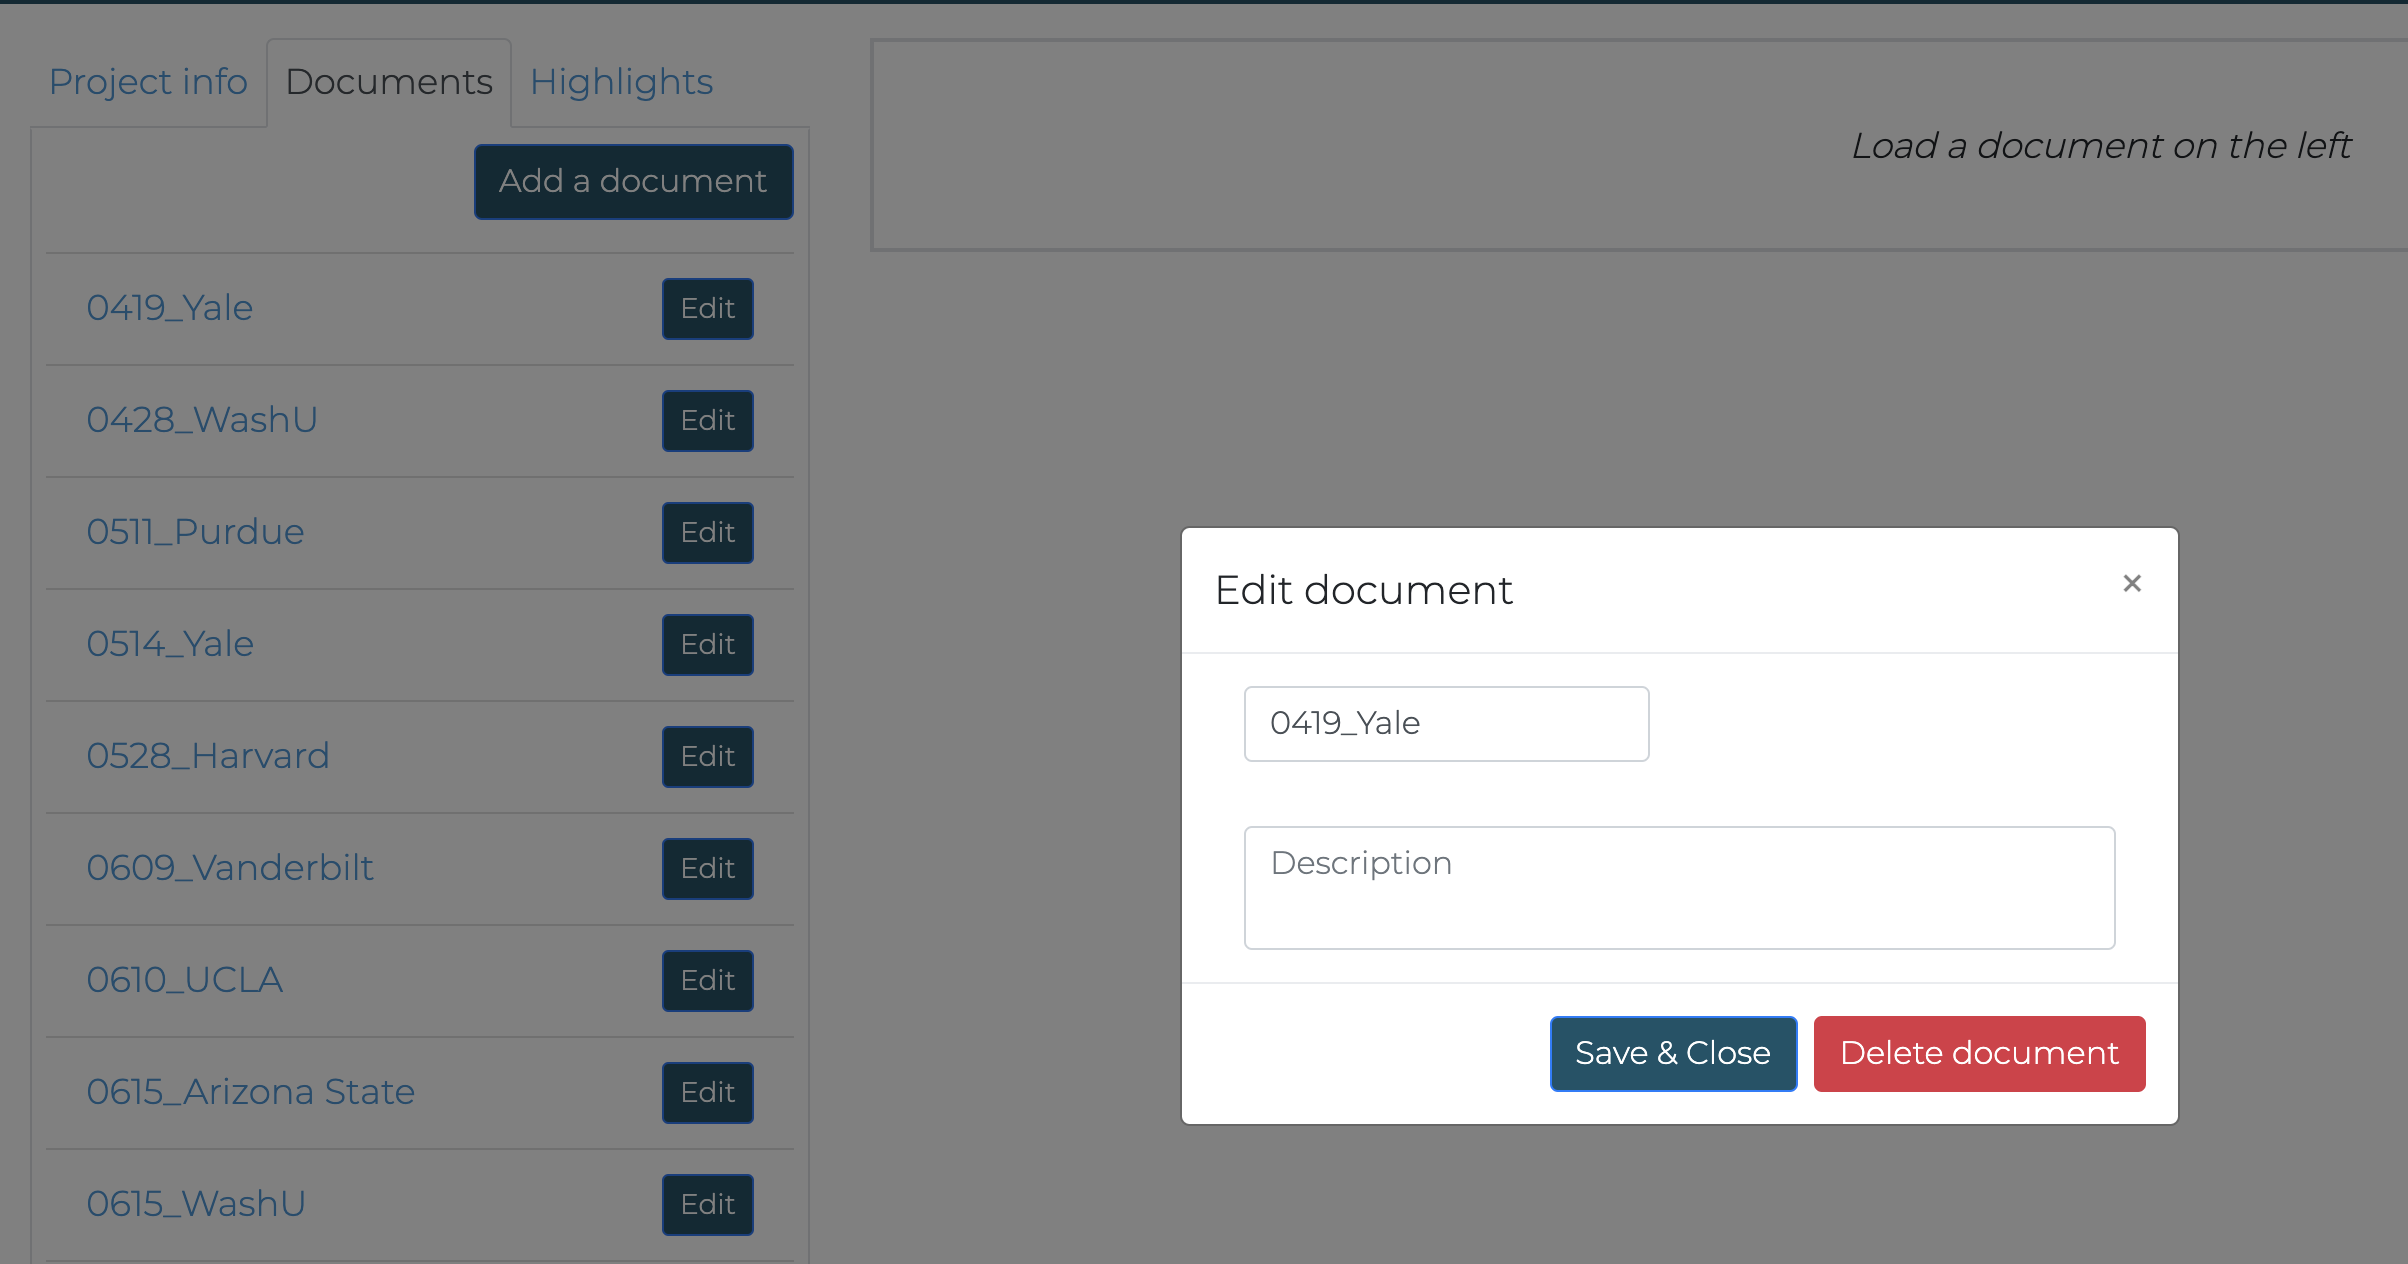
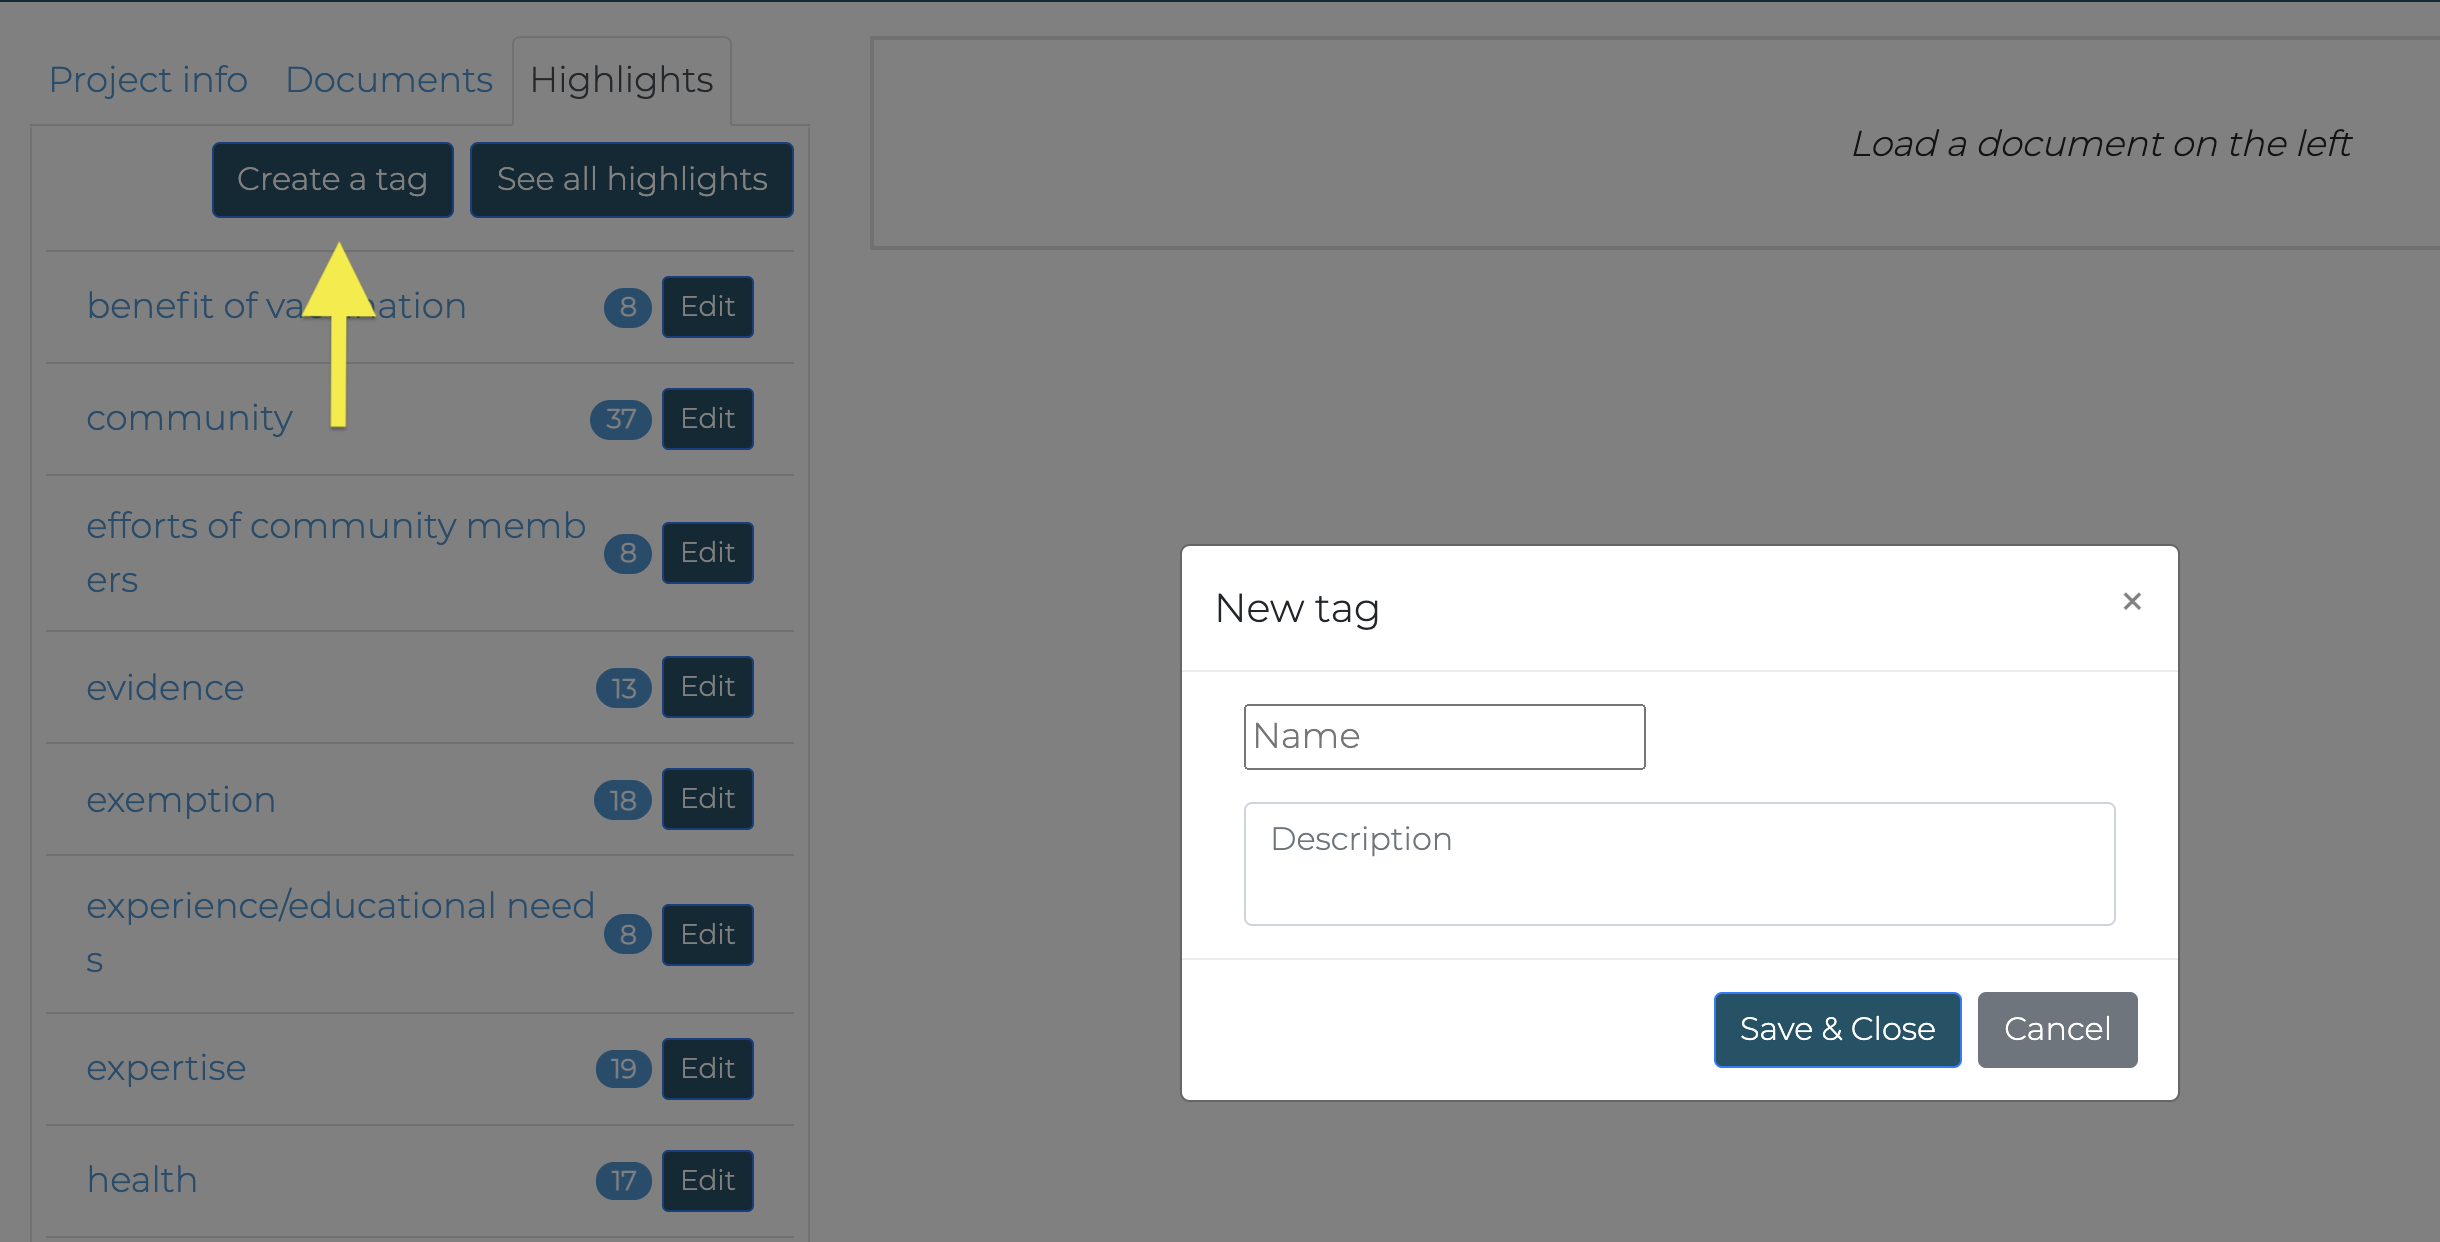
There may be two kinds of tags we would like to create. First, the pre-defined ones. We can do that by clicking on the Create a tag button and adding those tags one by one.
The tags we create for a file can be applied to other files under this project.
To apply a tag to a text chunk, we select that text chunk, click new highlight, and hit Save & Close.
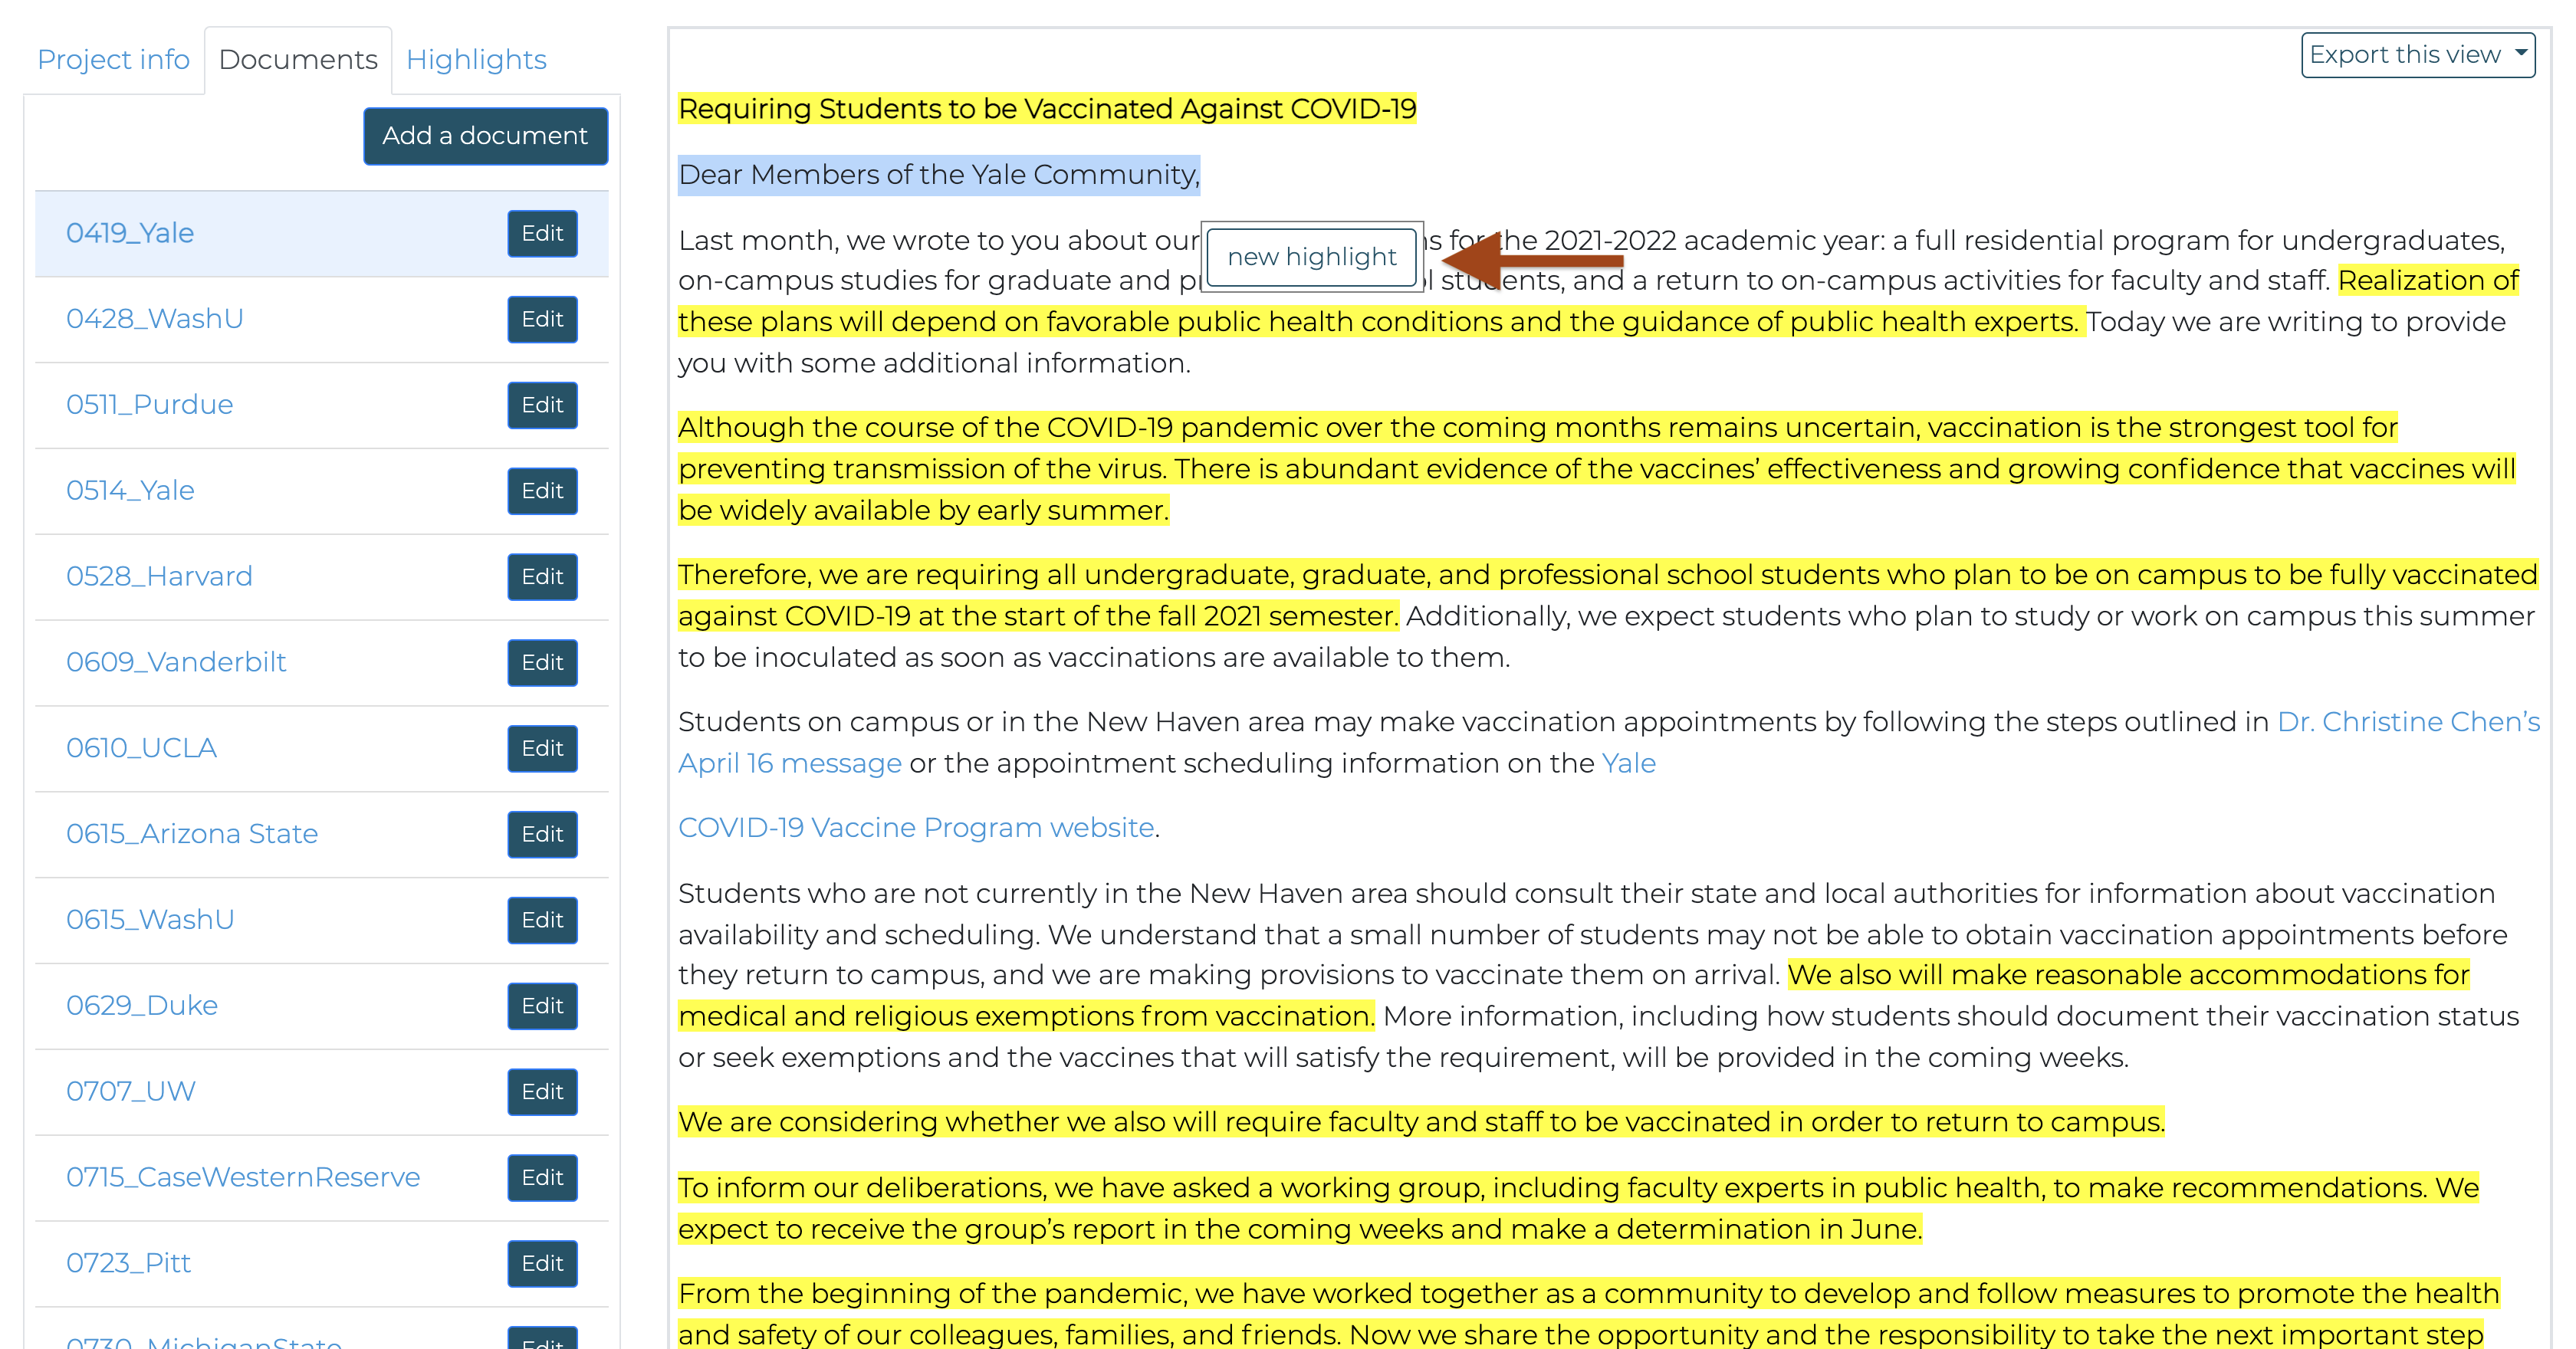
Alternatively, we can add new tags individually when highlighting the text. Ideas often pop up when we start to interact with our texts in more depth.

Codes/tags
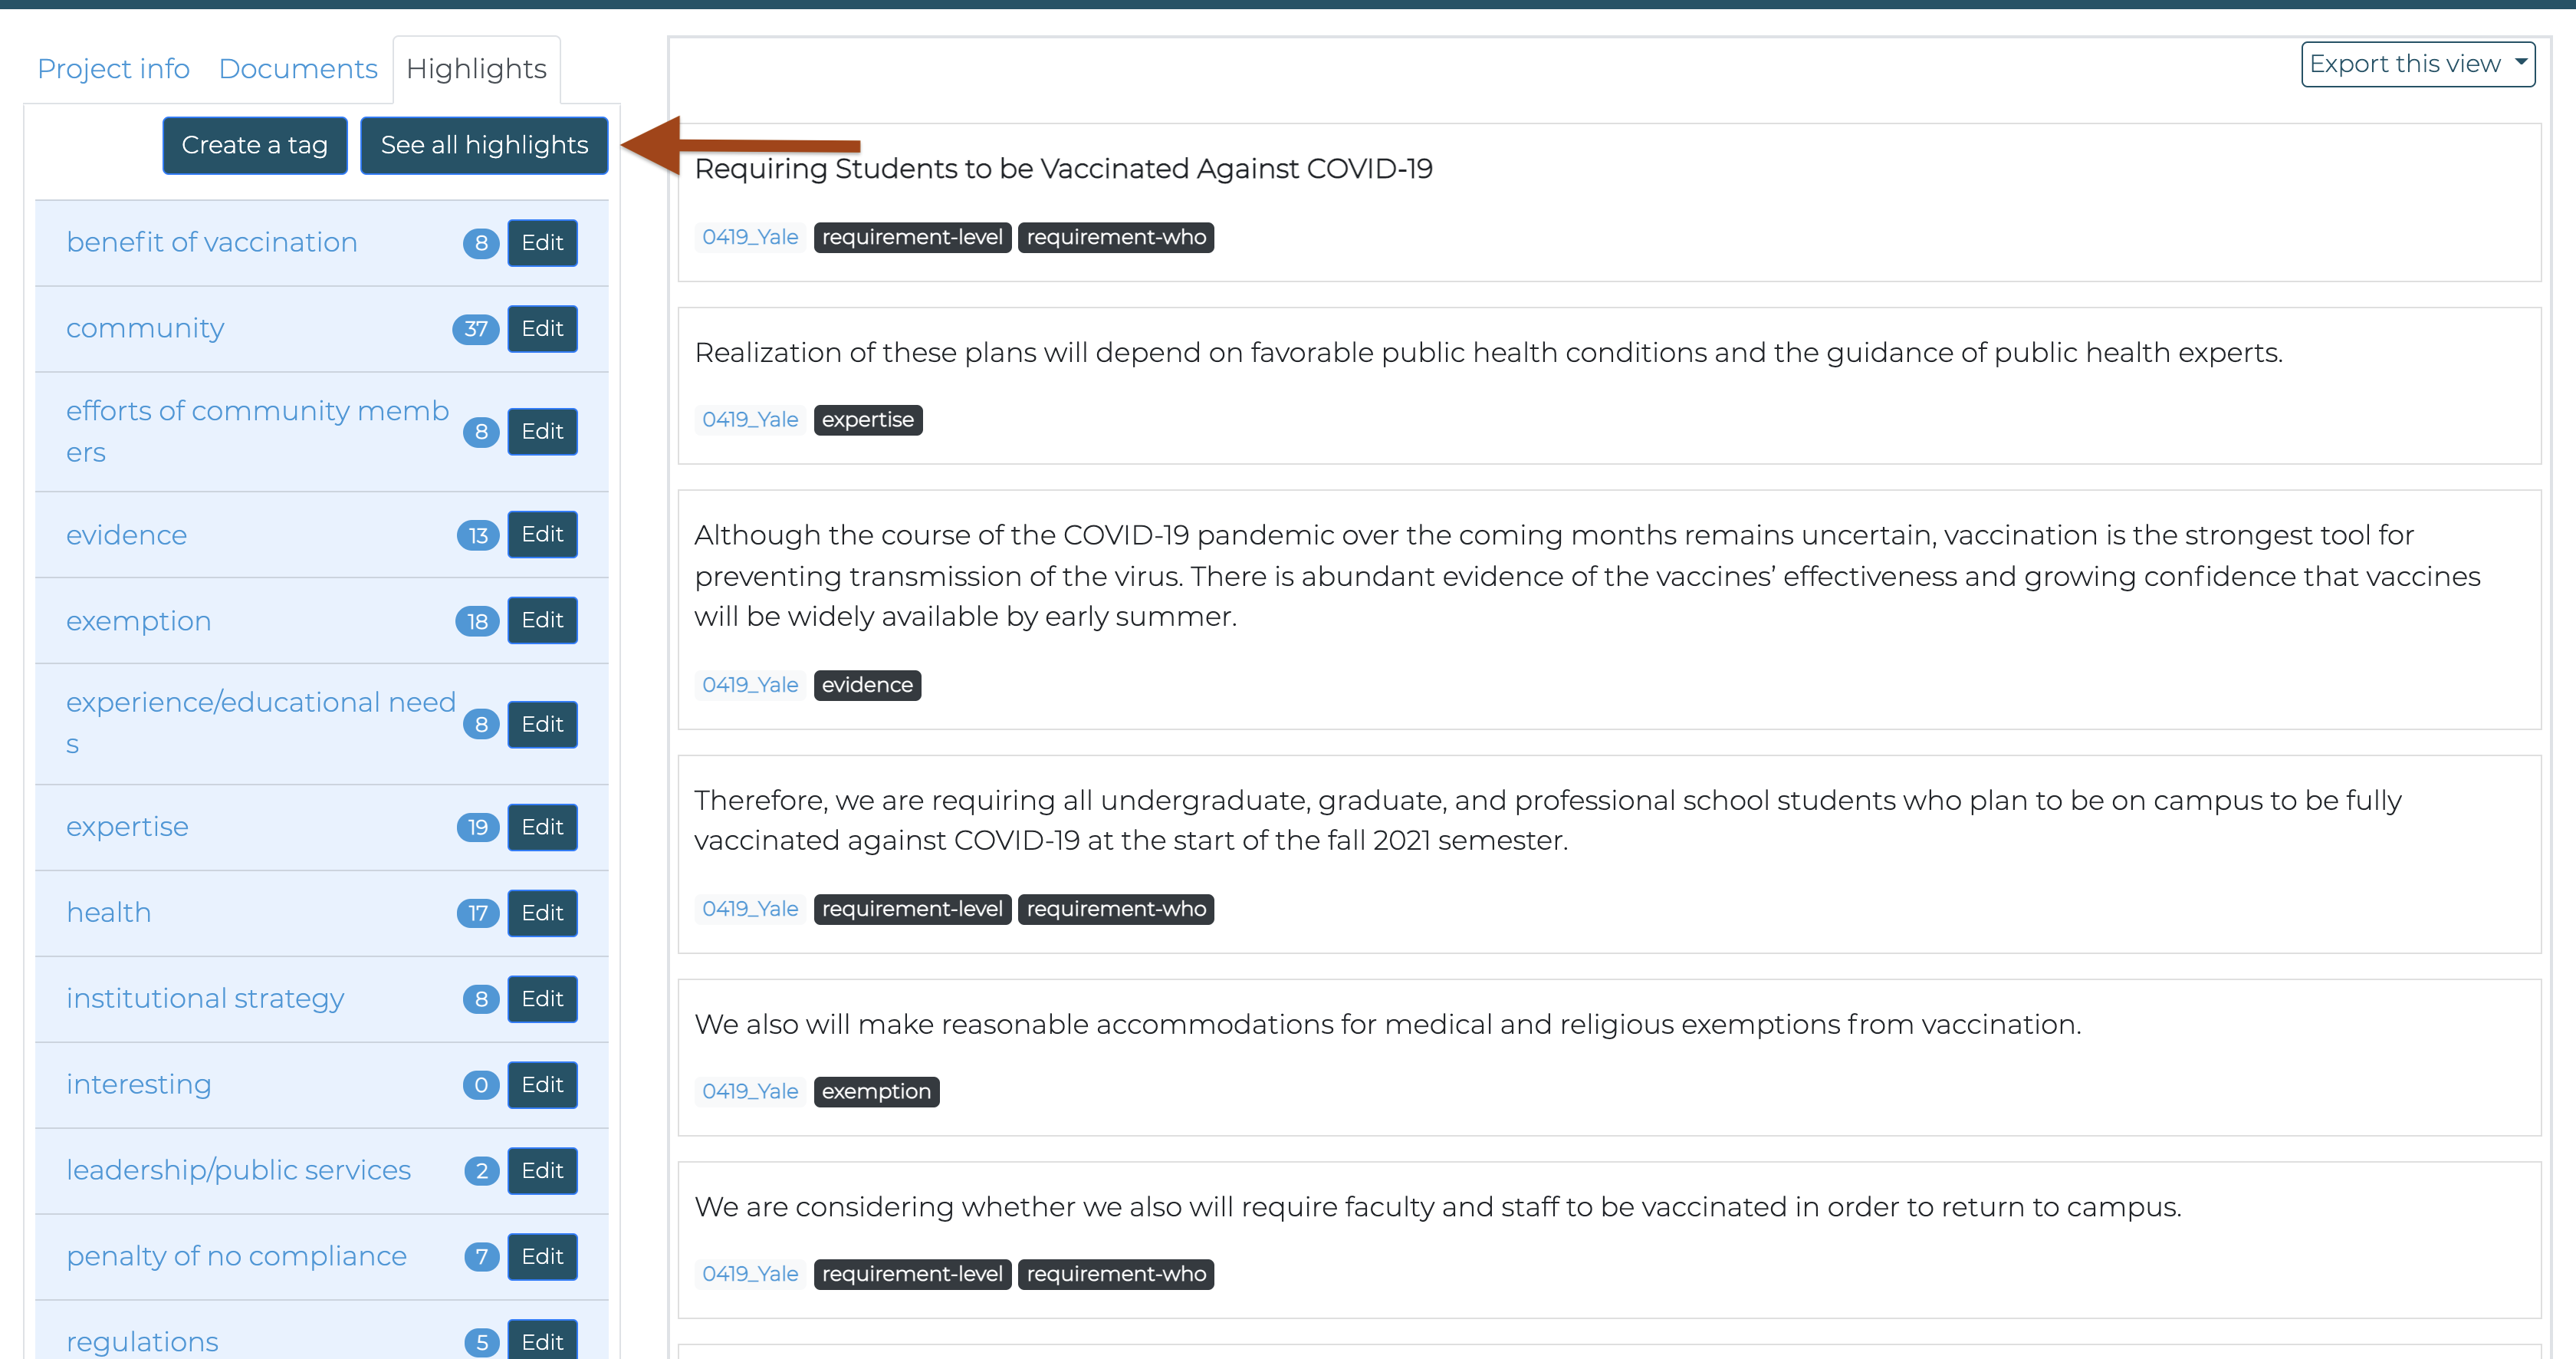
If we move to the Highlights tab in the sidebar, we can see all the tags we have created and the counts of each tag.
If we select a tag, we can see all the text chunks attached to that tag.

If we click See all highlights, we can see all text chunks associated with tags added by us.
Exporting results
After we’ve done with tagging the files, we can export what we worked on from Taguette.
These include the project and the codebook,
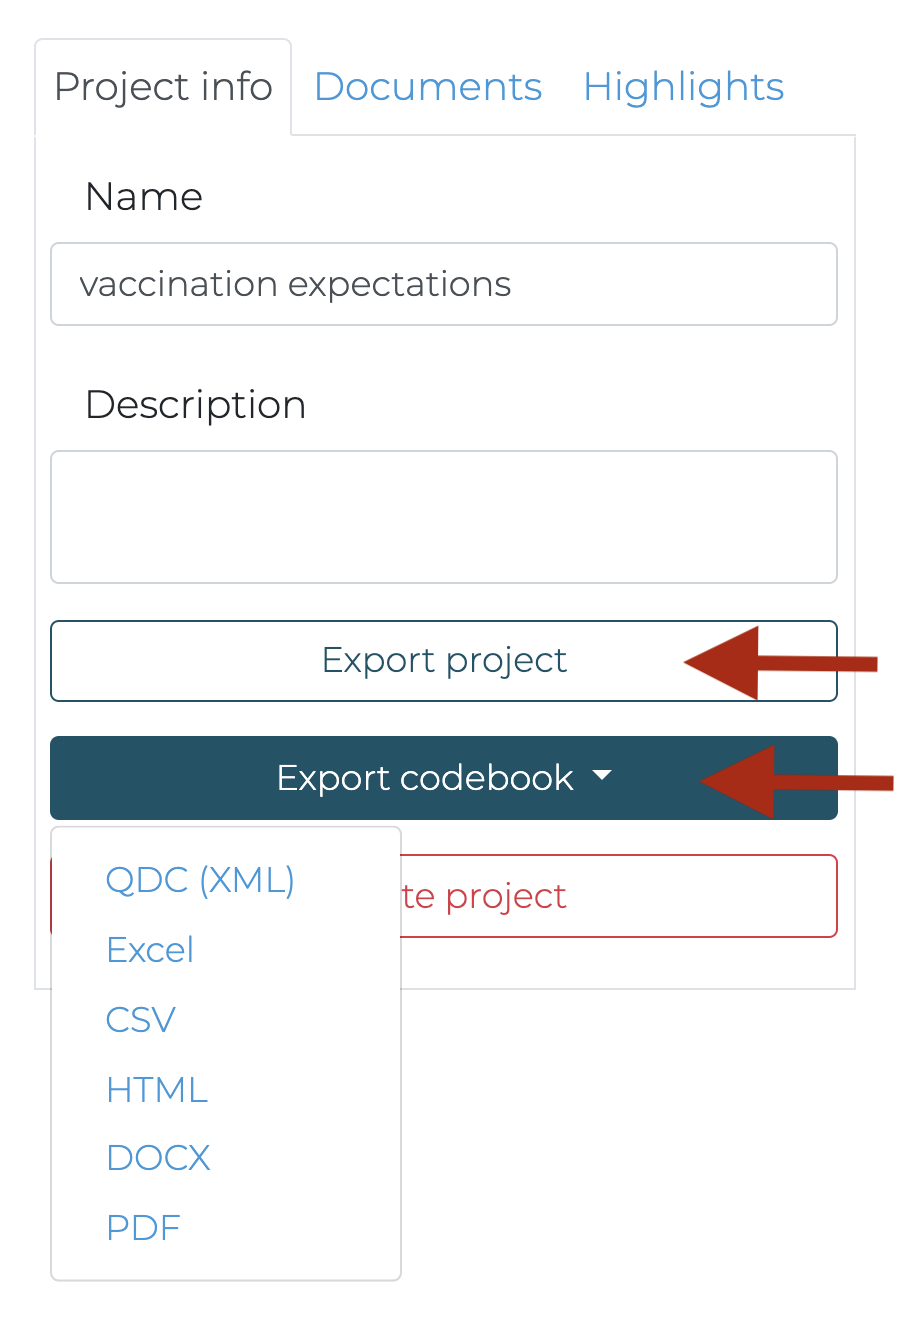
a summary of the tags and text chunks associated with them,


and documents with highlighted text chunks.

